Cleaning the Roof of the House to Make It Look Like New

Does your roof often get mossy or leak? Confused about how to clean it? You don't need to worry anymore, see how to make your roof look like new again.
Cleaning Stains on the Roof of the House
Work steps
- Clean the roof from mold and other dirt using a scrap knife and sandpaper
- Coat with alkaline sealer to block spots so that the painting results are not streaky. Wait an hour or two for the alkaline sealer layer to dry completely.
- Prepare wall paint. For painting, it is best to use wall paint because the results are better than using wood paint or oil. In the first painting, 10% water was added to the paint, while in the second painting, 20% water was added.
- Paint the ceiling evenly with the roller. The ceiling will look clean again
Cleaning Mold on the Roof of the House
- Use a dehumidifier.
- Make a mold cleaning solution.
- Wear safety glasses and a mask or respirator.
- Spray the cleaning solution on visible mold on the ceiling of the house.
- Scrub the mushrooms using the rough side of a cleaning sponge.
- Spray the solution again.
- Let the ceiling dry.
- Sand the ceiling.
- Repaint the ceiling using specially formulated paint.
Cleaning Mossy House Roofs
- Scrubbing
- Power Washing
- Remove moss with a roof cleaner made from hydrogen peroxide
- Prevent moss from growing on the roof
Cleaning the Roof of the House to Keep It Safe from Leaks
- Check Showerheads or Roof Gutters
- Check for moldy ceilings
- Cleaning moss
- Check Roof Flashing
- Rotting Fascia Boards
Cleaning the Roof of the House from Cobwebs
- Wash Your Walls
- Spider Control
- Spray Lemon Furniture oil
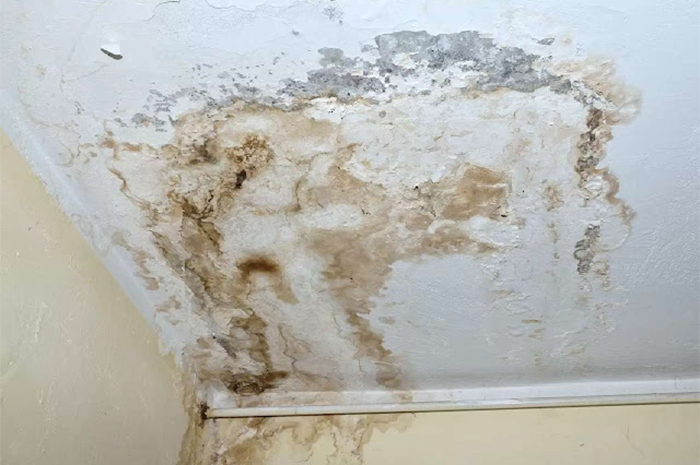
Removing leak marks on the roof of the house
The steps
- First, clean all ceiling surfaces from mold and dirt using an absorbent cloth and sandpaper. Use a ladder to reach the ceiling. Be careful when doing this, don't damage/break through the ceiling.
- Second, coat the surface of the ceiling where there are leak marks using alkaline sealer. This is so that the entire ceiling painting will look even, and there will be no color effects such as streaks. Leave it for 1-2 hours so that the layer dries completely.
- The third step is the first stage of painting the ceiling. This stage functions as a background color so that the final paint result will look clean and neat. The wall paint used should be mixed with water in a ratio of 10:1. Use a roller to make it easier for you to paint the entire surface of the ceiling.
- In the fourth stage, you will apply the second layer of paint. Different from the first layer, this second layer of paint uses a mixture of paint and water in a ratio of 5:1. Its function is to give a certain color to the ceiling of your house.
- As a final step, you can tidy up the paint, especially in the corners of the room.
Good luck and hopefully it will help you with your work at home.
