Easy and Accurate. This is how to install metal roof tiles for your home
Metal roofs are increasingly popular among homeowners and contractors because of their durability, modern aesthetic, and ease of installation. In installing metal roof tiles, there are several steps that must be carried out and prepared. Anything?
1. Roof Preparation
Prepare the roof first. You can do a roof inspection. Check the condition of your roof structure to ensure there is no damage or weaknesses that could affect the tile installation. After that, first install the rafters and battens.
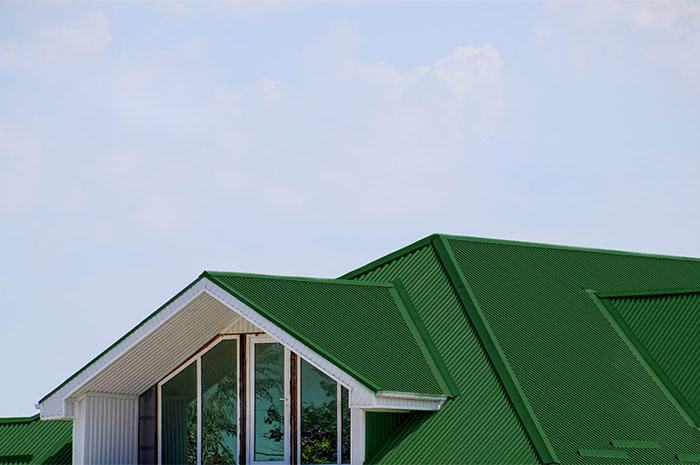
2. Install Metal Roof Sheet
Install the metal tile sheets starting from the top right side of the roof and continuing to the left and the bottom of the roof. Make sure the first sheet is installed correctly because it will be a reference for the next sheet. Use metal tile screws to secure the sheet to the battens.
3. Adjustments and Cutting
Look again to see if the metal roof tiles are neatly installed on the roof. If it is too long, you can adjust the size of the roof again by cutting it according to your needs using a special metal tile cutter.
4. Install Finishing
Install side and end covering accessories to ensure all edges of the roof are neatly covered and watertight. Also install the roof at the top of the roof or the junction between two metal roof tile sheets.
5. Perform a Final Inspection
Once all the sheets are in place, double check all screws and overlaps to ensure there are no gaps that could cause leaks. Collect remaining materials and clean the work area to avoid the risk of injury.
These are several ways to install metal roof tiles that you must know. Metal roof tiles are light in weight, long lasting and easy to maintain so they are easier to install and do not require a lot of labor. Hope it is useful.
Kirim masukan
Panel samping
Histori
Tersimpan